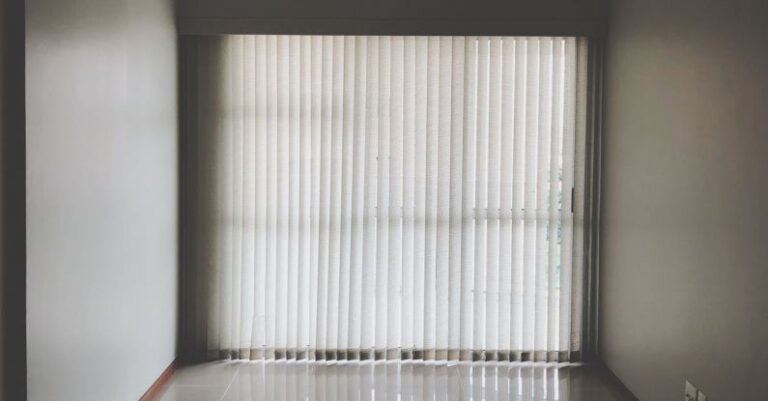
How to Install Blinds Without Professional Help

Transforming the aesthetics of your living space by installing blinds can be a rewarding and budget-friendly home improvement project. While hiring a professional may seem like the safest option, with a little patience and the right tools, you can easily install blinds on your own. This guide will walk you through the steps on how to install blinds without the need for professional assistance.
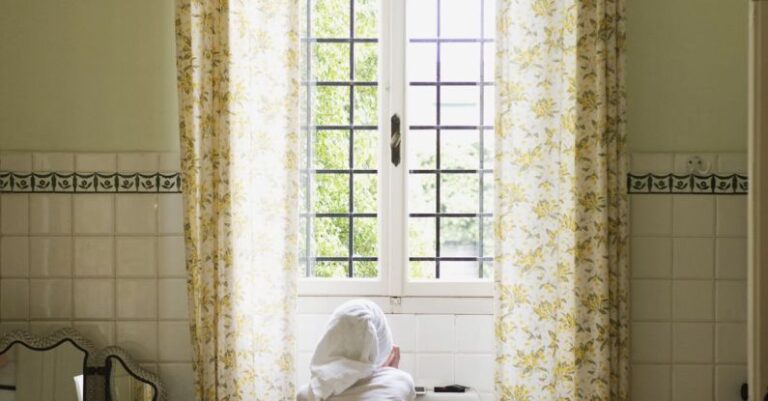
Choosing the Right Blinds
Before diving into the installation process, it is essential to choose the right blinds that suit both your style preferences and the dimensions of your windows. Measure the width and height of your windows accurately to ensure that the blinds you purchase will fit perfectly. Consider the material, color, and style of the blinds to complement the existing decor of the room.
Gathering the Necessary Tools
To successfully install blinds, you will need a few basic tools to assist you in the process. Ensure you have a measuring tape, a pencil, a screwdriver, a drill, screws, brackets, and the blinds themselves. Having these tools readily available will make the installation smoother and more efficient.
Preparing the Window Area
Start by clearing the area around the window where you plan to install the blinds. Remove any existing window treatments or decorations that may obstruct the installation process. Wipe down the window frame and surrounding area to ensure a clean surface for the blinds to be mounted securely.
Mounting the Brackets
Using a pencil and measuring tape, mark the placement of the brackets on the window frame. Position the brackets evenly on both sides of the window to ensure the blinds are level once installed. Use a drill to secure the brackets in place with the provided screws, making sure they are firmly attached to the frame.
Attaching the Headrail
Once the brackets are securely mounted, it is time to attach the headrail of the blinds. Slide the headrail into the brackets, ensuring it sits snugly and is centered within the window frame. Double-check that the blinds are level and adjust if necessary before proceeding to the next step.
Hanging the Blinds
With the headrail in place, it is time to hang the blinds onto the rail. Most blinds come with a simple hook system that allows you to easily attach them to the headrail. Carefully hook the blinds onto the rail, making sure they are evenly spaced and hang smoothly without any obstructions.
Testing and Adjusting
After hanging the blinds, test them by raising and lowering them to ensure they function correctly. Make any necessary adjustments to the tilt of the blinds or the length of the cords to achieve the desired look and functionality. Take your time to fine-tune the blinds to suit your preferences before considering the installation complete.
Enhancing the Look
Once the blinds are successfully installed and adjusted to your liking, take the opportunity to enhance the overall look of the window area. Consider adding decorative curtains, valances, or tie-backs to further elevate the aesthetics of the room and create a cohesive design scheme.
Enjoying Your Handiwork
Now that you have successfully installed blinds without professional help, take a step back and admire your handiwork. Not only have you saved money by completing the installation yourself, but you have also added a personalized touch to your living space. Sit back, relax, and enjoy the newfound privacy and style that your new blinds bring to the room.
In conclusion, installing blinds without professional help is a manageable task that can be accomplished with the right tools and a bit of patience. By following these simple steps and guidelines, you can transform your windows and elevate the look of your home on your own terms. Take pride in your DIY skills and enjoy the functional and aesthetic benefits that blinds bring to your living space.