What Are the Steps to Install Hand Painted Blinds
Hand-painted blinds can add a touch of elegance and uniqueness to any room in your home. Installing these blinds may seem like a daunting task, but with the right tools and a step-by-step guide, you can easily transform your space. Here are the essential steps to install hand-painted blinds seamlessly.
Choosing the Right Location
Before you start the installation process, determine the ideal location for your hand-painted blinds. Consider factors such as the amount of natural light in the room, privacy needs, and the overall aesthetic you want to achieve. Once you have selected the perfect spot, measure the width and height of the window accurately to ensure a proper fit for your blinds.
Gathering the Necessary Tools
To install hand-painted blinds successfully, you will need a few essential tools. Make sure you have a drill, screws, a level, a pencil, a measuring tape, and a screwdriver on hand before you begin the installation process. Having these tools readily available will make the task more manageable and efficient.
Mounting Brackets Placement
Start by marking the placement of the mounting brackets on the wall or window frame. Use a pencil to make light marks where the brackets will be installed, ensuring they are evenly spaced and level. Double-check the measurements to avoid any errors that may affect the stability of the blinds once they are hung.
Attaching the Mounting Brackets
Using a drill, secure the mounting brackets in place according to the markings you made earlier. Make sure the brackets are firmly attached to the wall or window frame to provide adequate support for the blinds. Use a level to ensure the brackets are straight before proceeding to the next step.
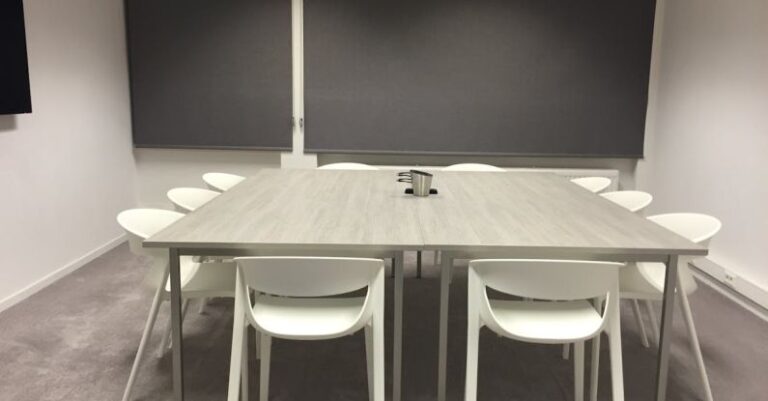
Hanging the Hand-Painted Blinds
Carefully lift the hand-painted blinds and place them onto the mounting brackets. Ensure that the blinds are securely seated in the brackets and adjust them as needed to achieve a level and symmetrical appearance. Once the blinds are in position, double-check that they are securely attached before letting go.
Securing the Blinds in Place
After hanging the blinds, use screws to secure them in place on the mounting brackets. Make sure the blinds are tightly fastened to prevent any accidental falls or misalignment. Test the blinds by gently pulling them up and down to ensure they operate smoothly and are securely installed.
Adding Finishing Touches
Once the blinds are securely in place, take a step back and admire your handiwork. Adjust the blinds as needed to ensure they are perfectly positioned and provide the desired level of light and privacy. Consider adding decorative elements such as tie-backs or valances to enhance the visual appeal of the blinds and complement your existing decor.
Final Thoughts on Installing Hand-Painted Blinds
Installing hand-painted blinds can be a rewarding DIY project that adds a personal touch to your living space. By following these steps and paying attention to detail, you can achieve a professional-looking installation that enhances the overall ambiance of your home. Take your time during each step of the process to ensure the blinds are installed securely and function smoothly. With a little patience and effort, you can enjoy the beauty and functionality of hand-painted blinds in your home for years to come.